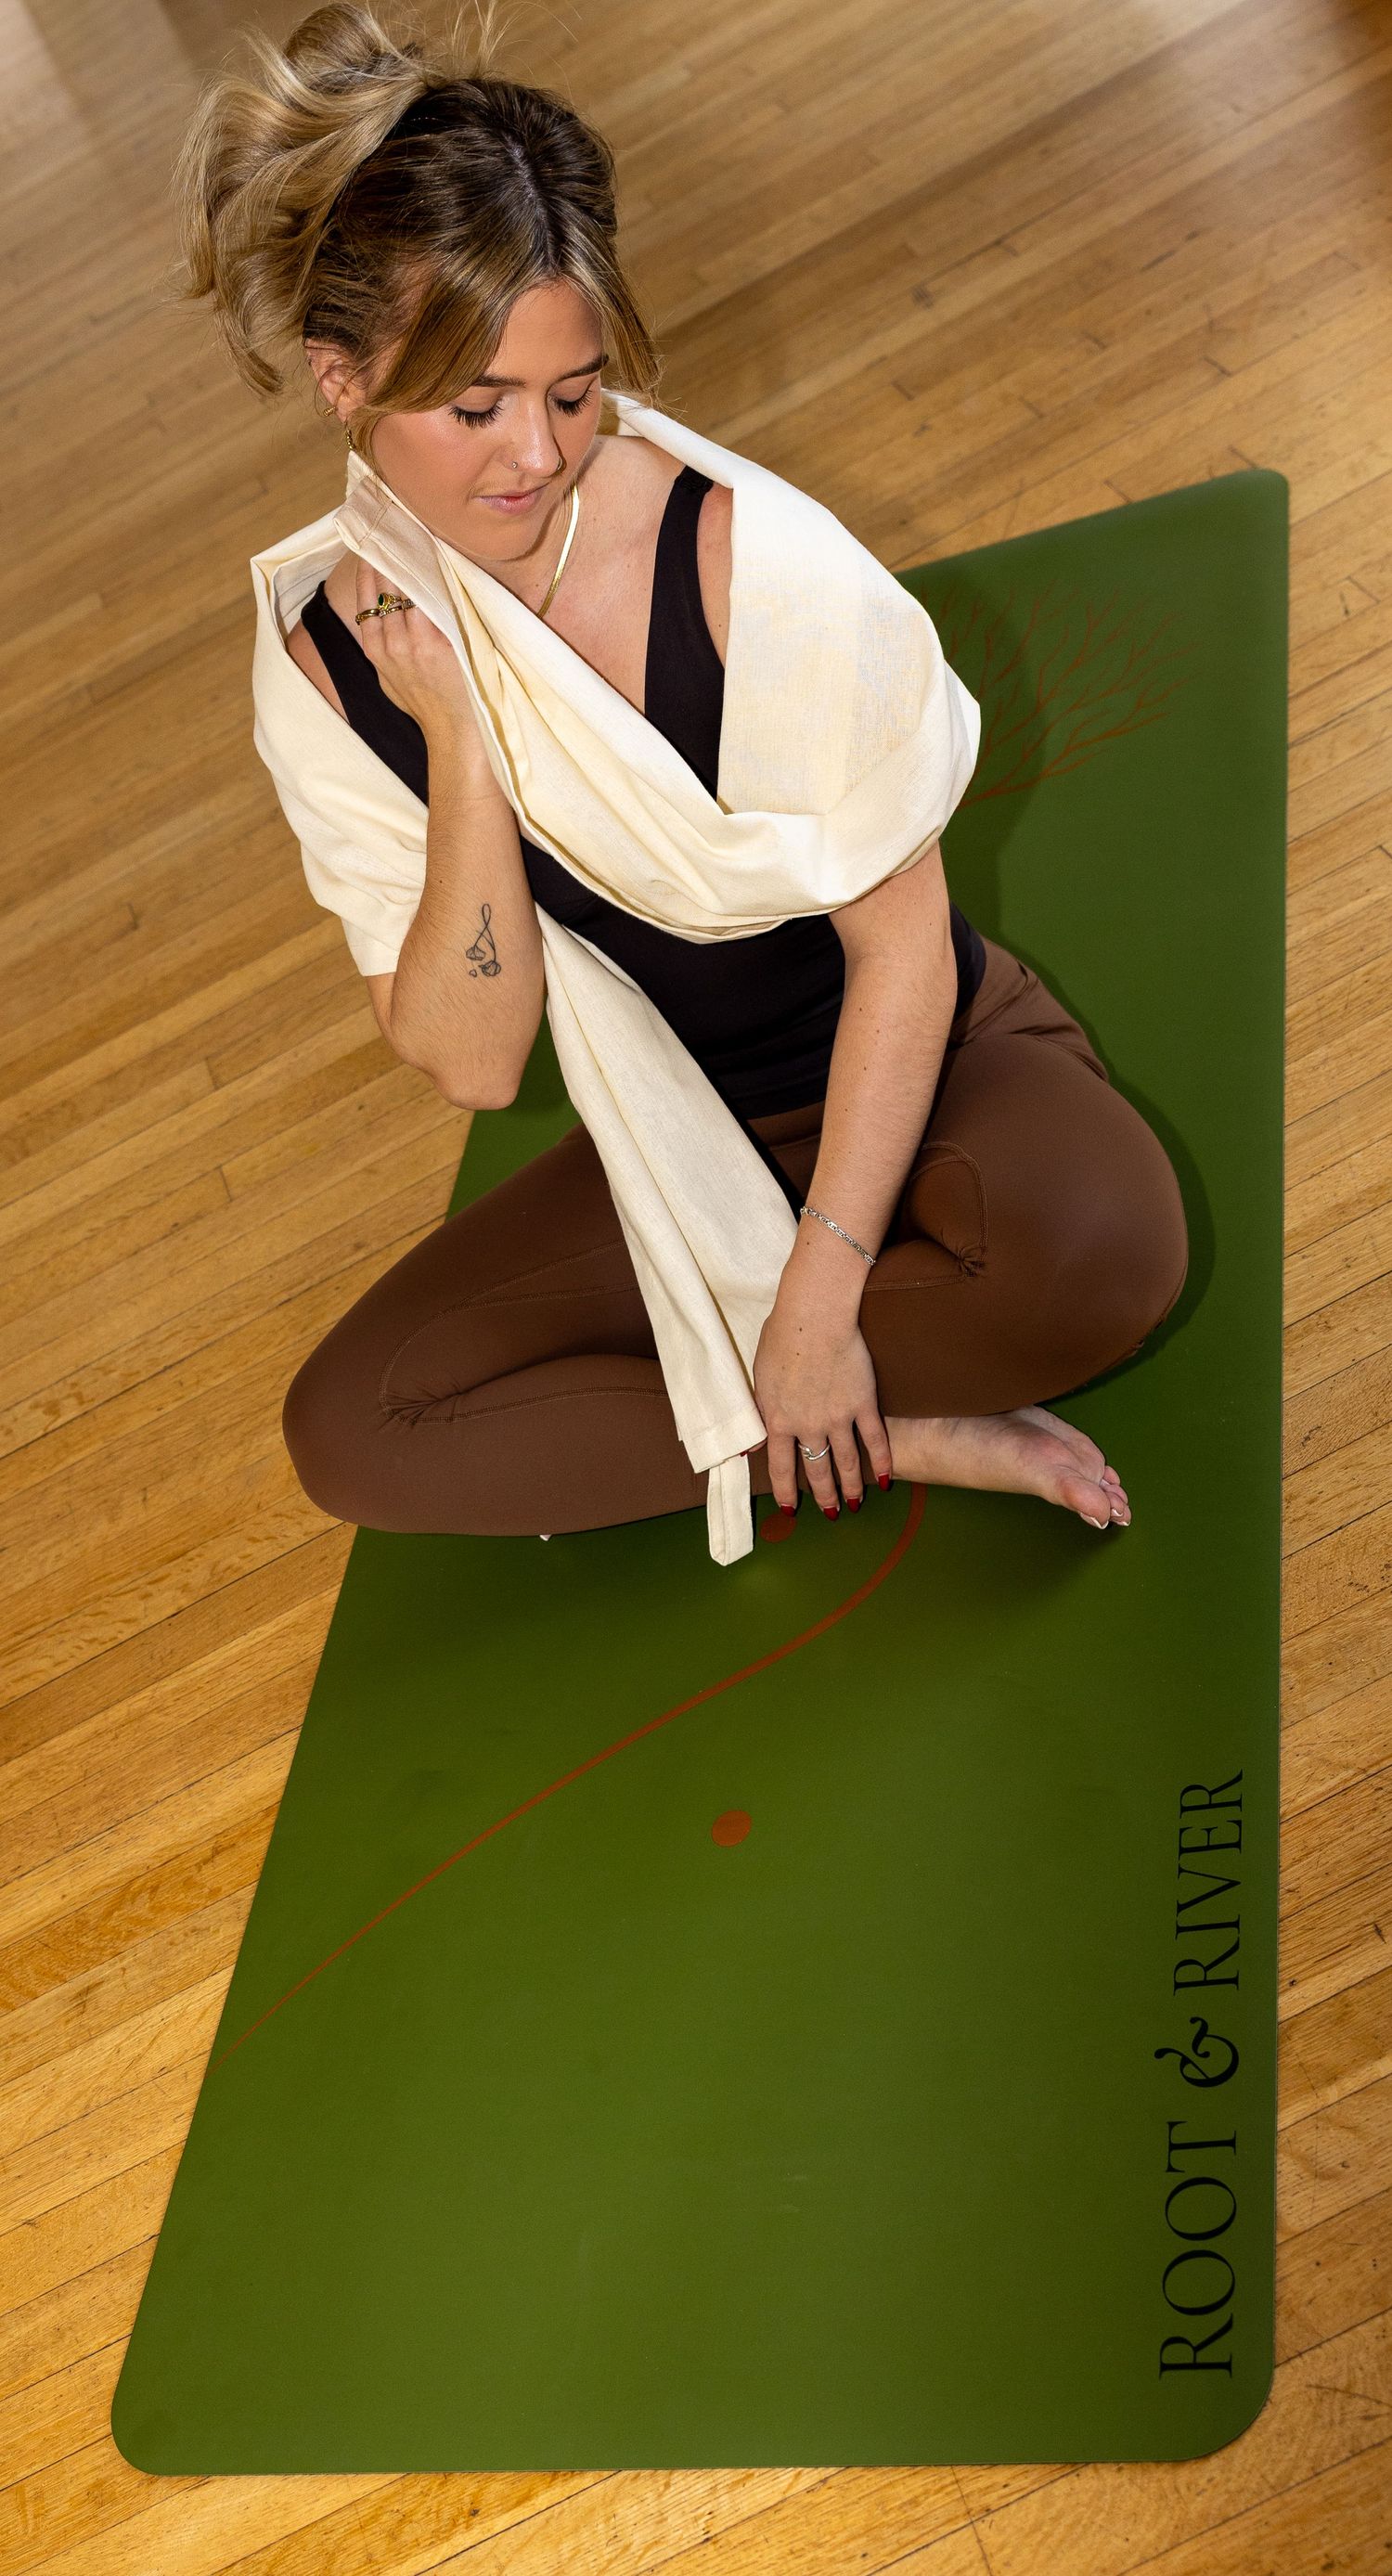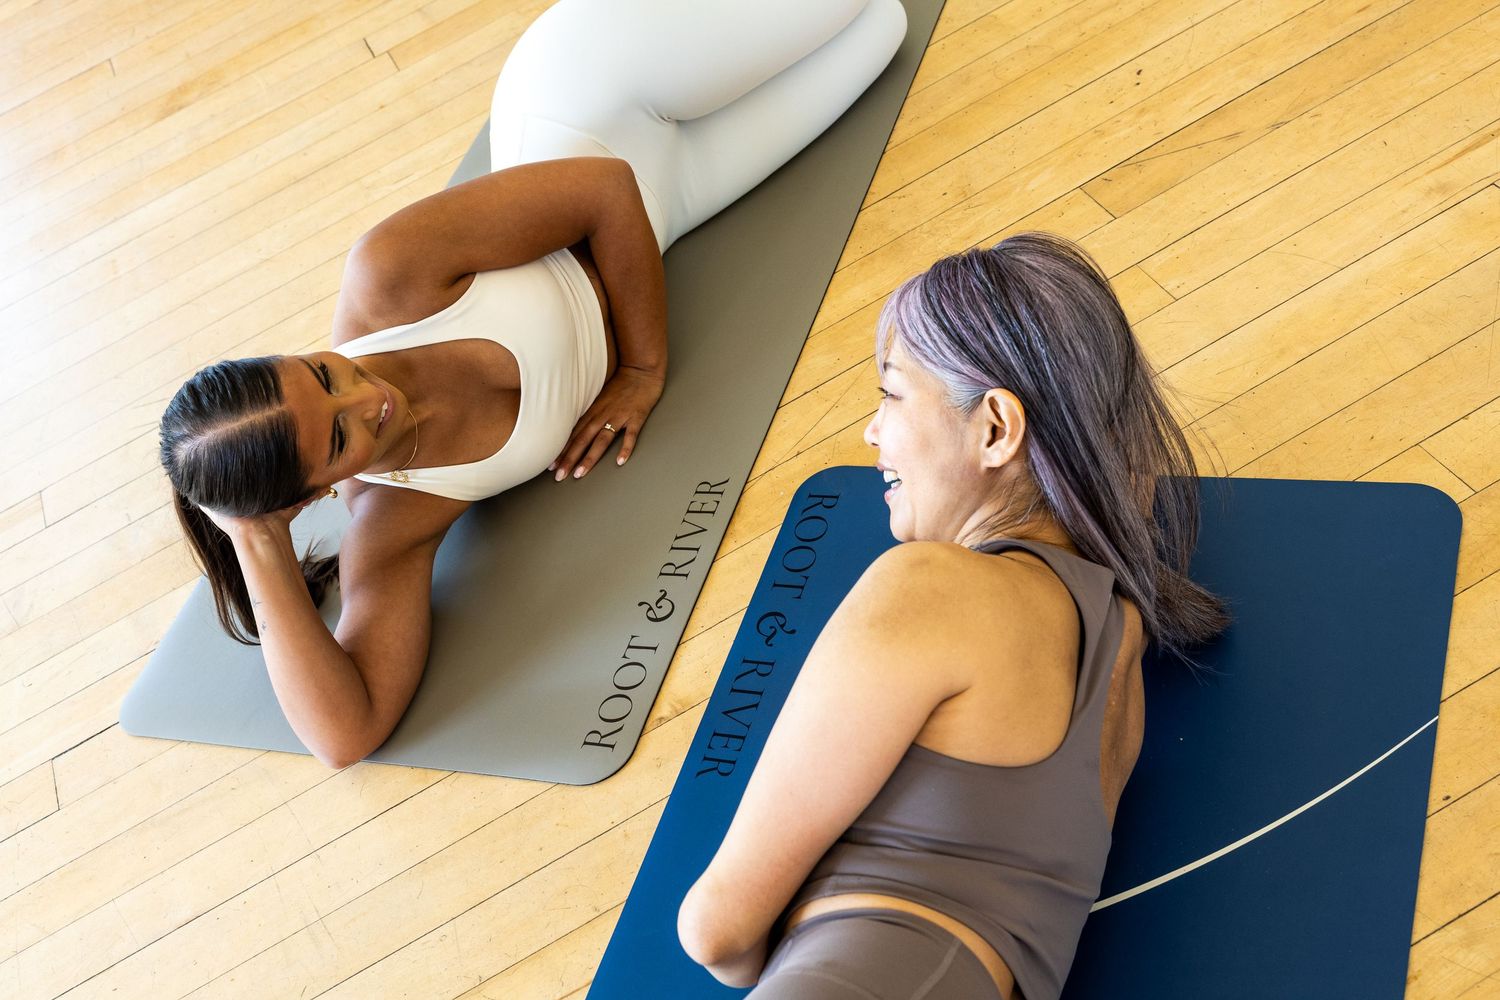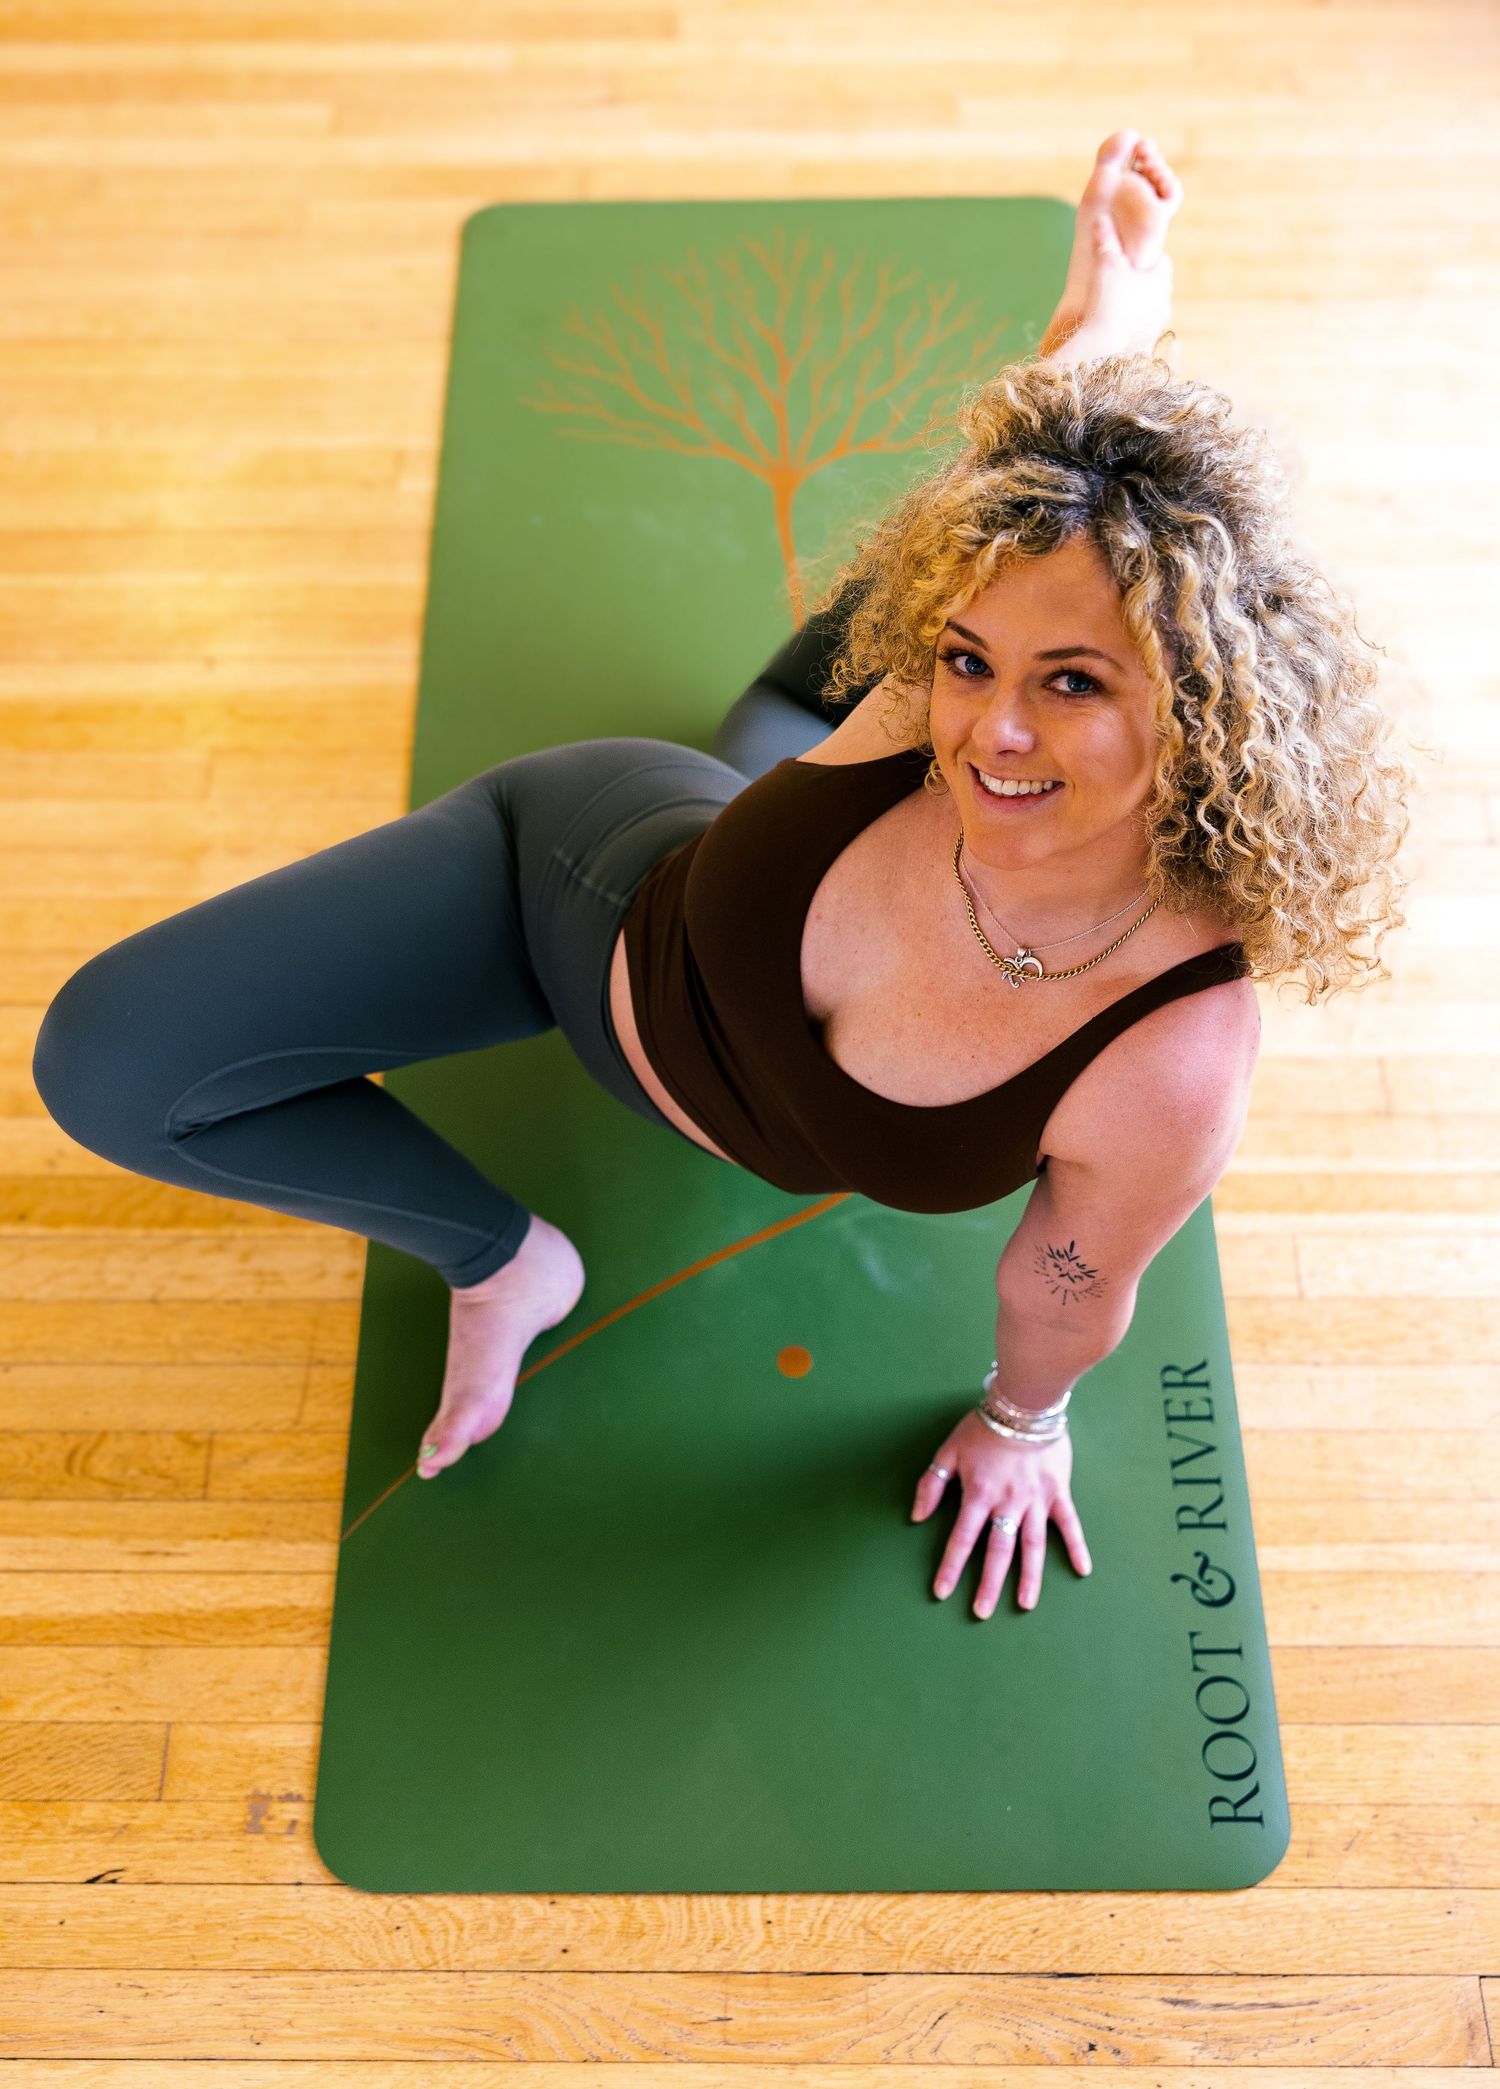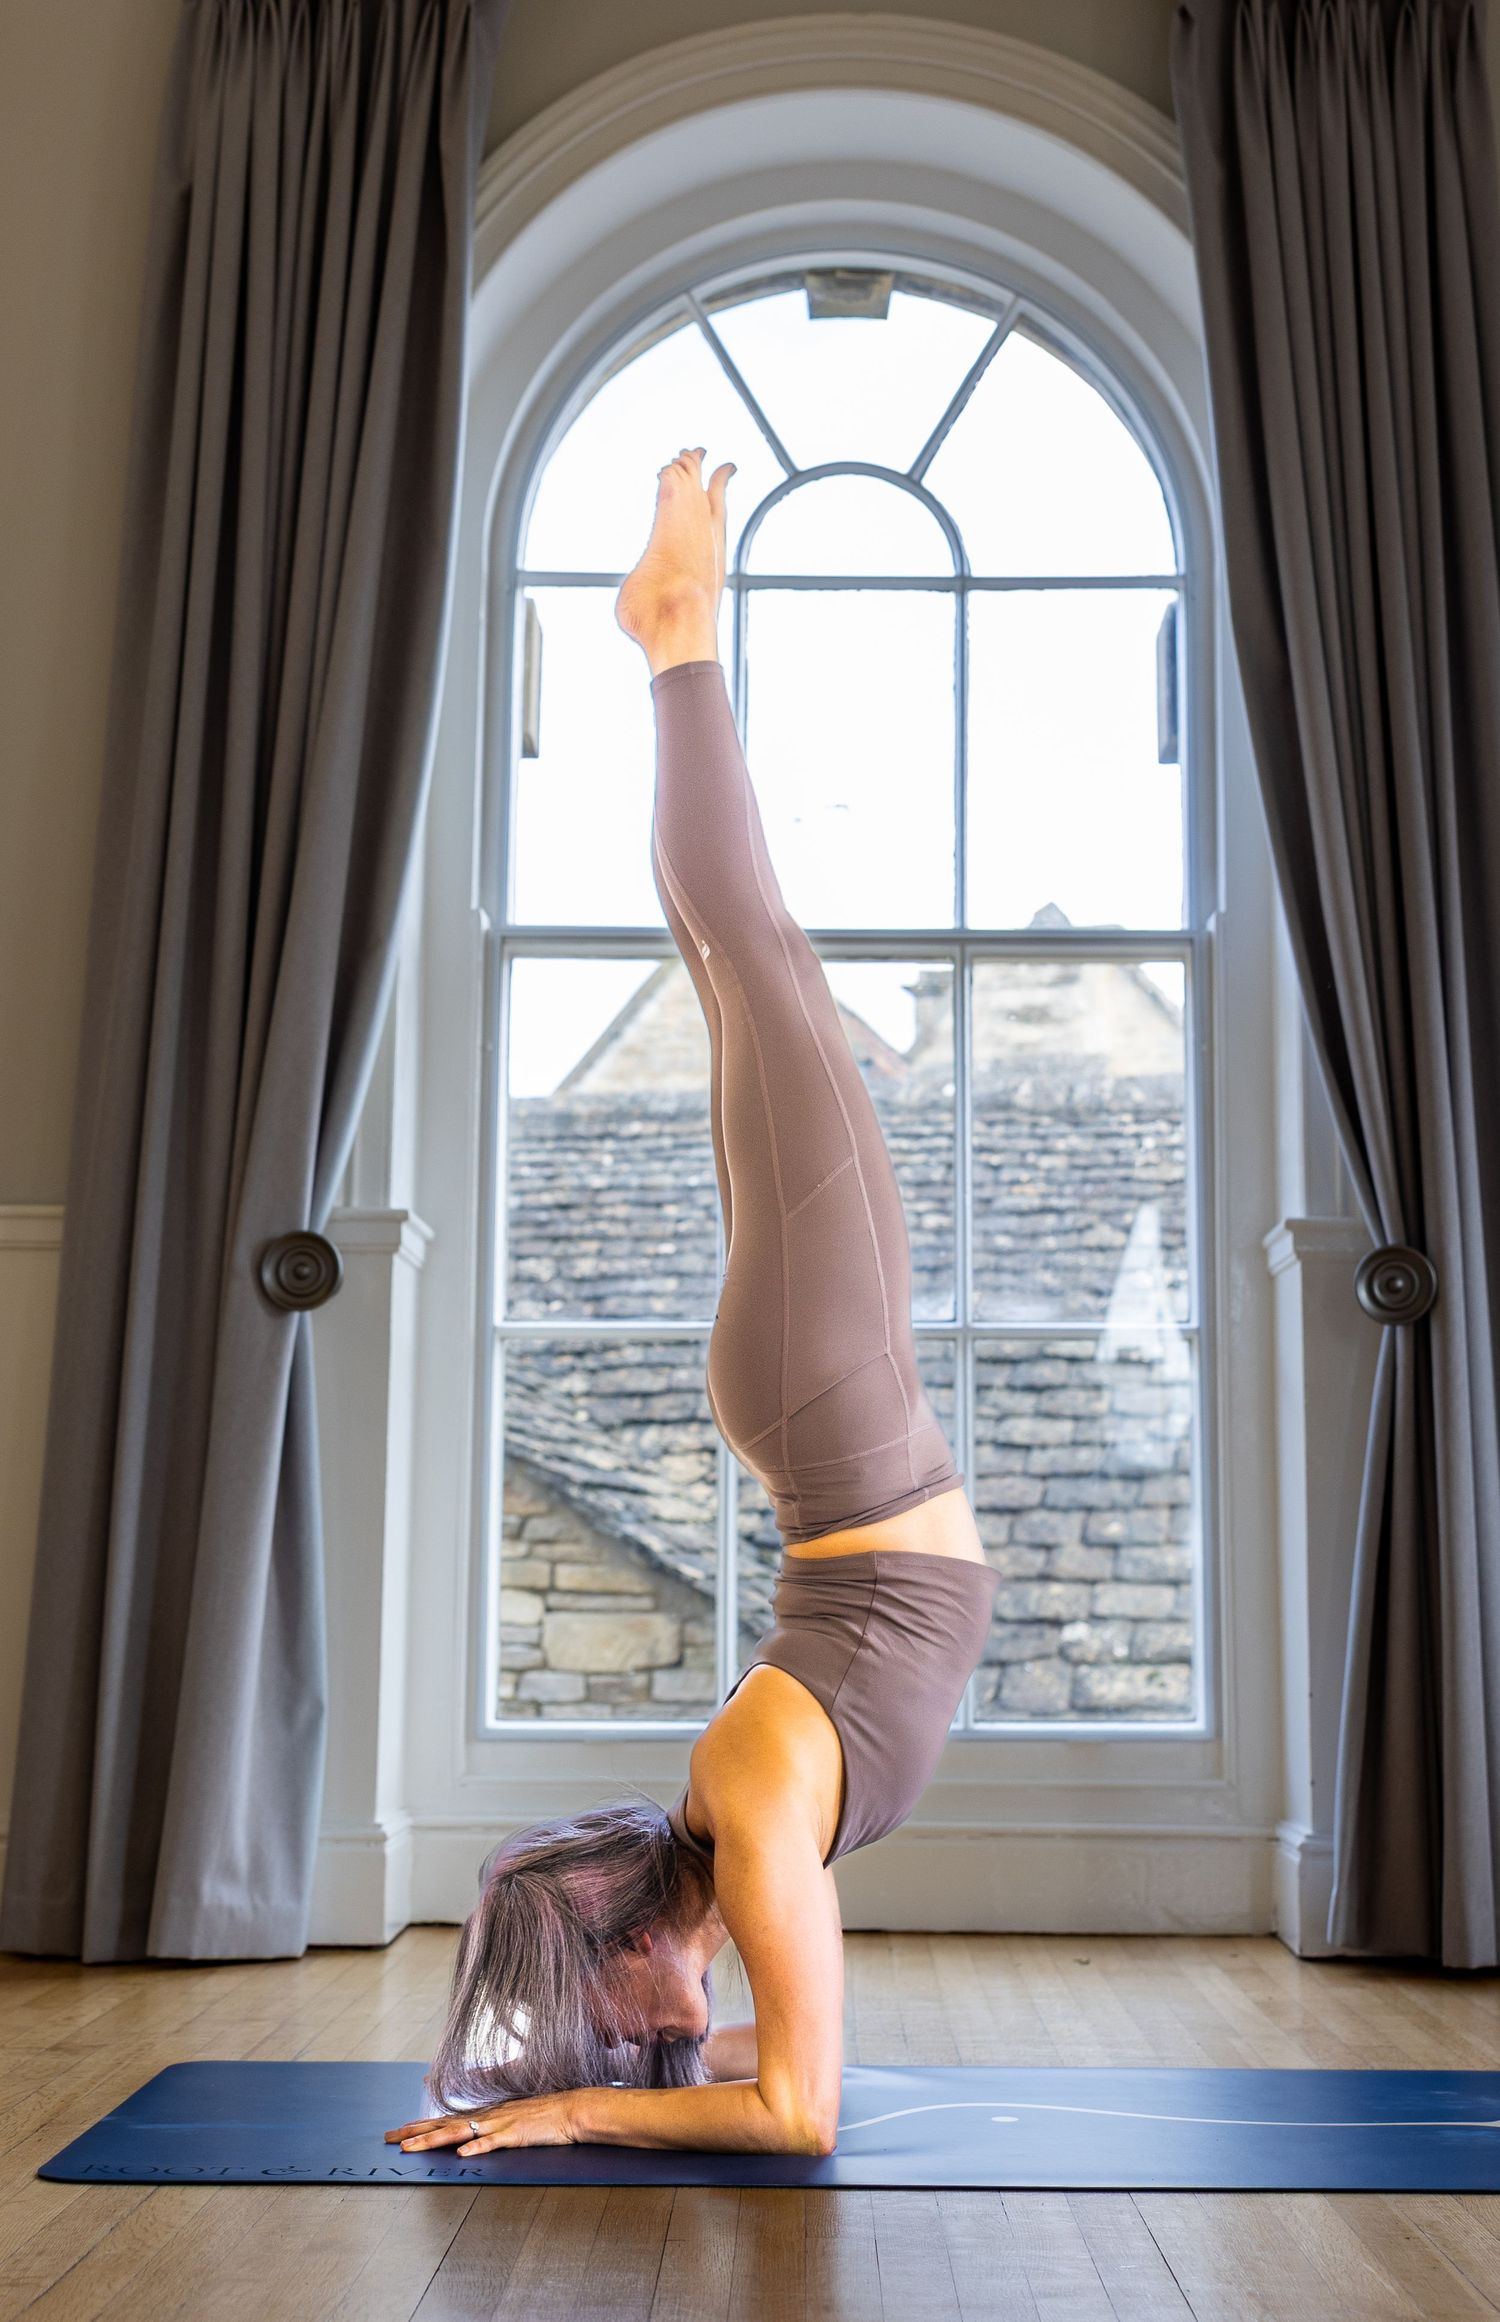
The Yoga shoot
15 March 2026 // Corsham
Camera Settings for Indoor Yoga Photography: The Complete Guide
Camera Settings for Indoor Yoga Photography | Struggling with indoor yoga photography? Discover the exact camera settings professional photographers use to capture stunning yoga shots in any studio lighting.
Whether you’ve been commissioned to shoot a yoga studio’s promotional material, capturing a teacher’s personal brand, or documenting a wellness event, indoor yoga photography presents a unique set of challenges. Low light, dynamic movement, and the need to capture both power and serenity in the same session — it’s one of the more technically demanding shoots you’ll take on.
I’ve shot in studios across Berkshire and Surrey, from intimate one-to-one sessions in Sandhurst to group classes in Reading and Camberley, and the same core settings principles apply every time. Here’s exactly what works.
The Core Challenge With Indoor Yoga Photography
The problem with shooting indoors is the light — or rather, the lack of it. Yoga studios typically use soft, warm, low-level lighting to create atmosphere. That’s beautiful for the participants, but it forces you into uncomfortable compromises between shutter speed, aperture, and ISO.
Add in the fact that yoga involves both completely still held poses and fast-flowing dynamic sequences, and you’ve got a shoot that demands you stay on your toes technically.
The good news? Once you understand the logic behind the settings, it becomes second nature.
Aperture: Balancing Blur and Sharpness
For individual subjects: f/1.8 – f/2.8
A wide aperture is your best friend indoors. It lets in maximum light and creates that gorgeous background blur (bokeh) that isolates your subject against the studio environment. For personal branding shots of a yoga teacher — the kind that end up on their website or LinkedIn — f/1.8 or f/2.0 gives beautifully intimate results.
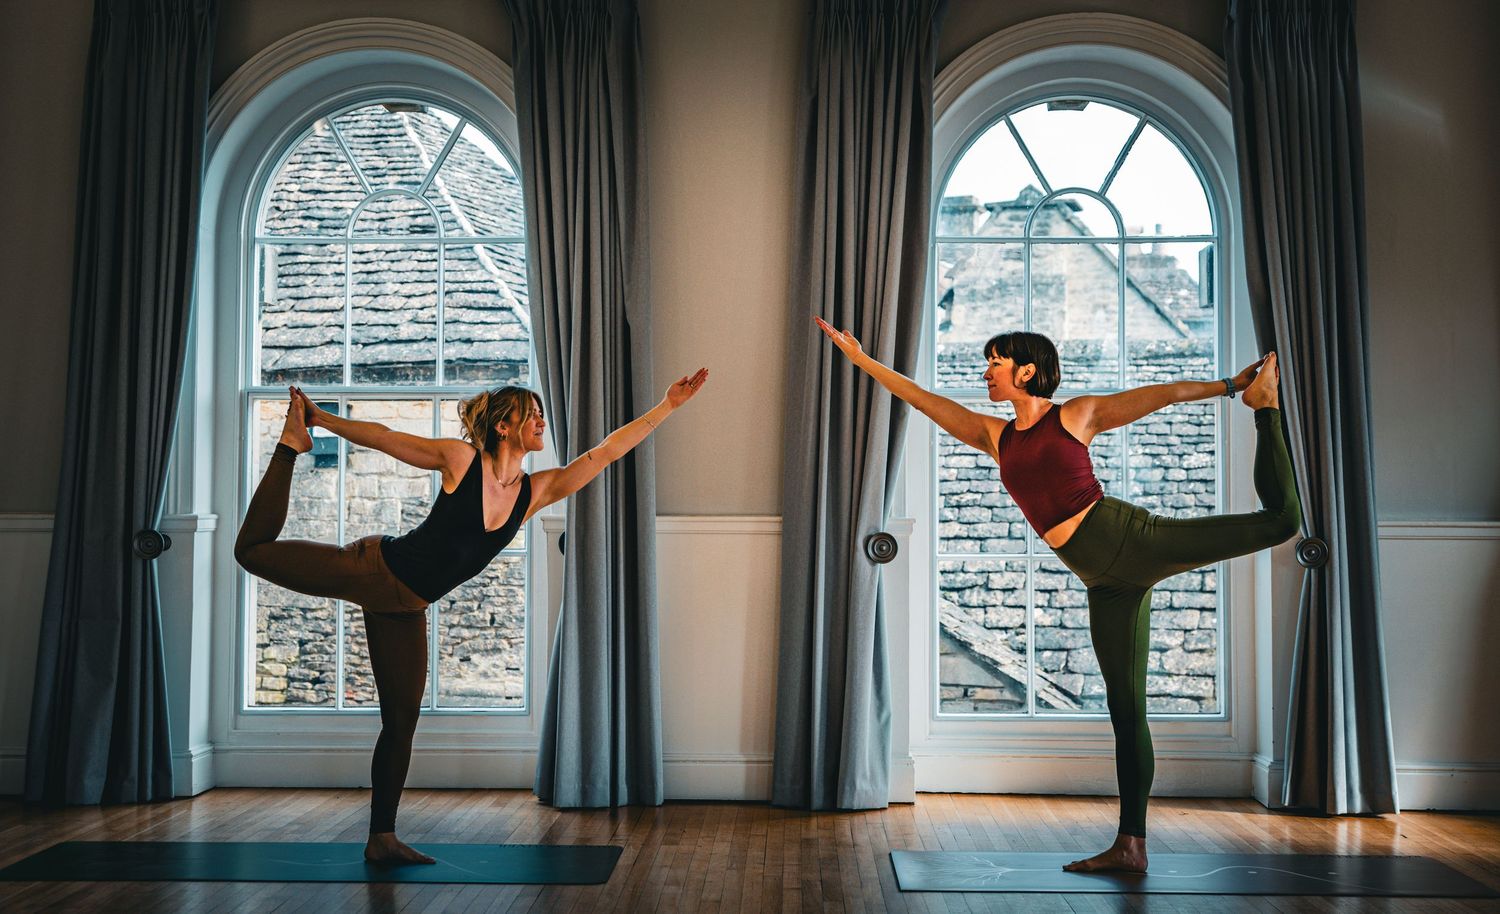
For group classes: f/4 – f/5.6
When there are multiple people in frame at different depths, you need more of the image in focus. f/4 is usually the sweet spot — enough depth of field to keep everyone sharp, but still letting in decent light.
Watch out for: At f/1.8, your focus needs to be precise. Miss the eyes by a fraction and the shot is unusable. Single-point autofocus is essential here.
Shutter Speed: Freezing Movement Without Losing Light
This is where most people struggle with yoga photography. Set your shutter too slow and you get motion blur on flowing sequences. Set it too fast and you’re fighting the low light.
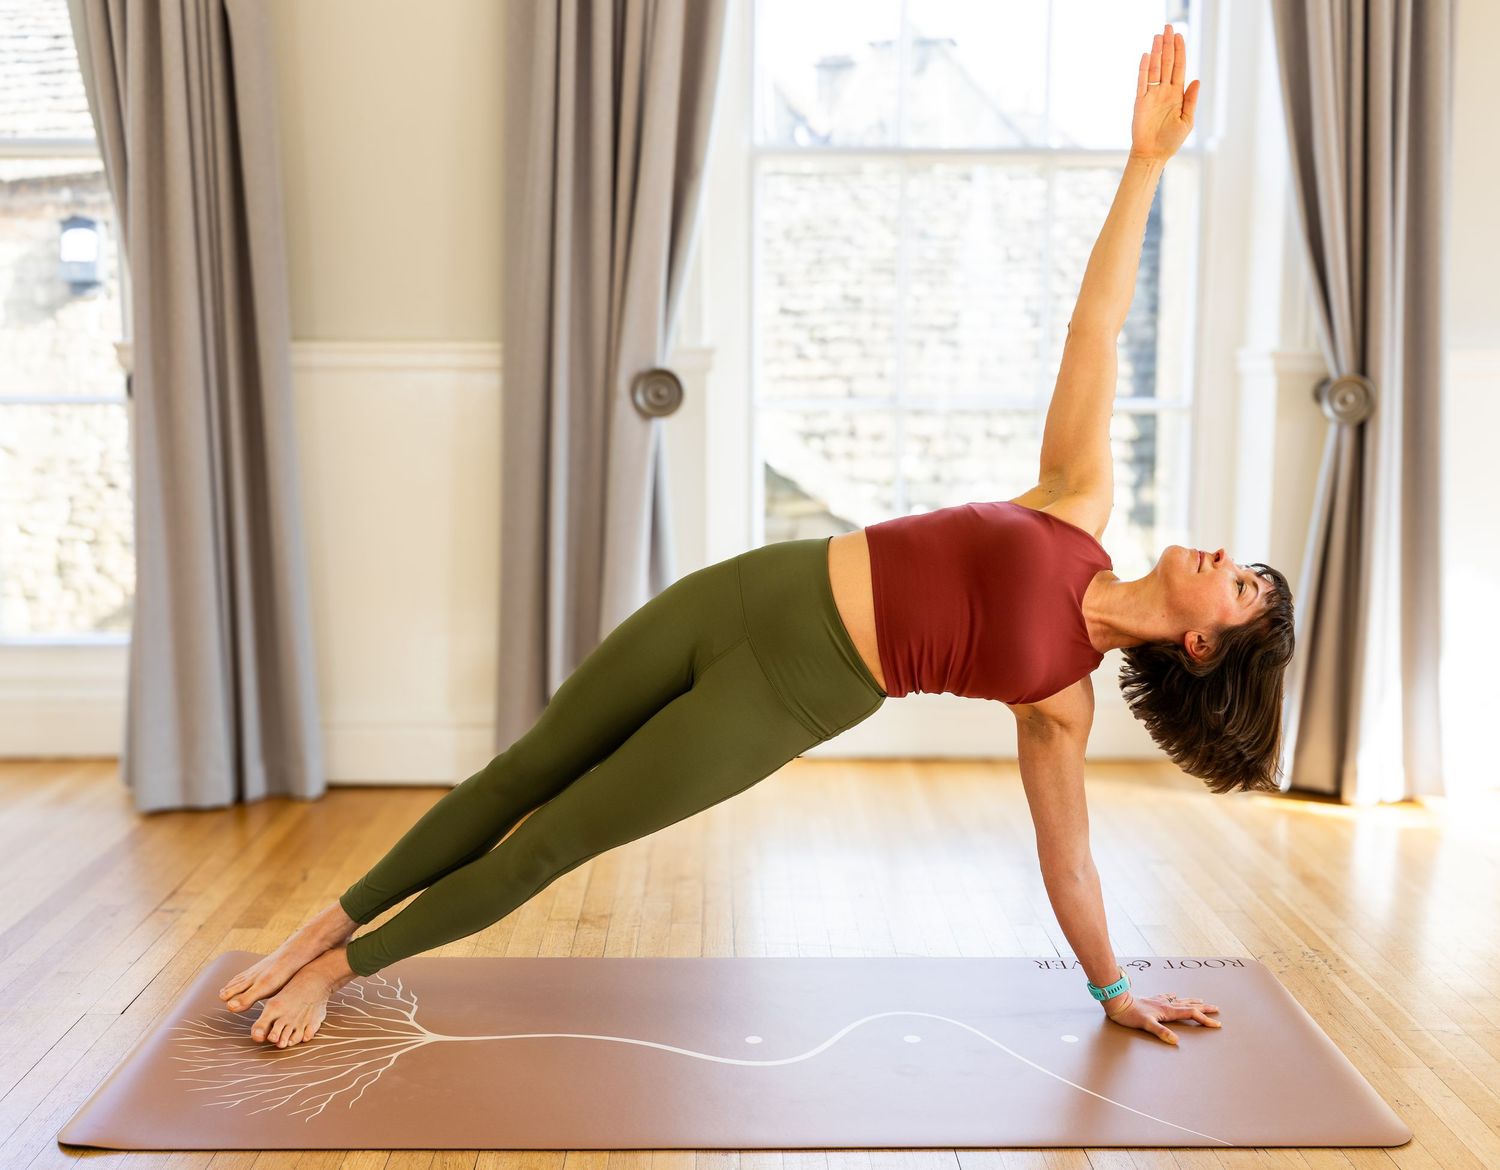
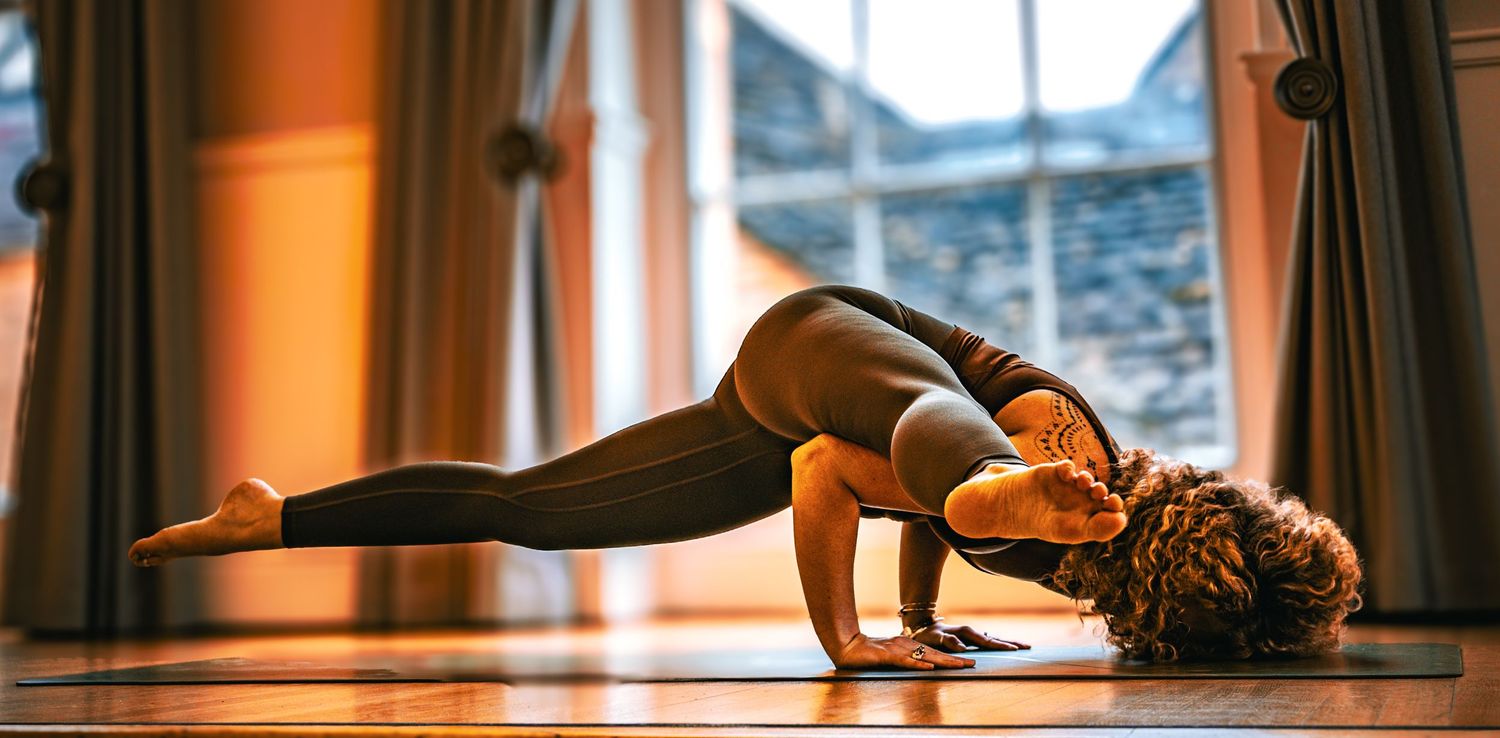
∙ 1/500s — for dynamic vinyasa flows, jump transitions, and arm balances
∙ 1/250s — a good all-rounder for most movement
∙ 1/125s — fine for completely still held poses like warrior III or tree pose
My general approach: start at 1/250s, watch the first few flowing sequences, and adjust from there. If the studio is particularly dark, I’ll drop to 1/200s and rely on burst mode to catch the sharpest frame.
ISO: Don’t Be Afraid to Push It
Indoor yoga photography will push your ISO higher than you might be comfortable with. Don’t fight it.
∙ ISO 800 — start here as your baseline
∙ ISO 1600 — perfectly acceptable on any modern mirrorless or DSLR
∙ ISO 3200 — usable, especially if you’re shooting RAW and processing in Lightroom
∙ ISO 6400+ — a last resort, but a grainy sharp image is always better than a clean blurry one
The key mindset shift: noise can be reduced in post-processing. Motion blur cannot. Always prioritise a fast enough shutter speed over a low ISO.
White Balance: Lock It In Manually
Yoga studios are notorious for mixed and warm lighting — think Edison bulbs, softboxes, and natural light from one side all fighting each other. If you leave your camera on Auto White Balance, it will shift between shots as the light changes, making your editing wildly inconsistent.
Set it manually at the start of the shoot:
∙ Tungsten / Incandescent (2700K–3200K) for very warm studio lighting
∙ Warm White / Fluorescent (3500K–4200K) for mixed or cooler studio lighting
∙ Shade (7000K) if there’s significant natural light from windows
Take a test shot, check the colours on your screen, and dial it in before the session starts properly.
Focus Mode: Match It to the Moment
Continuous autofocus (AI Servo on Canon / AF-C on Sony and Nikon) is your go-to for flowing sequences. It tracks your subject as they move through the frame, keeping focus locked on them.
Single-point autofocus for held poses — this gives you more precise control over exactly where the focus lands. Always aim for the eyes when shooting portraits.
One tip I always follow: when a teacher holds a pose for the camera, switch to single-point and take your time composing the shot carefully. You have the luxury of time — use it.
Shooting Mode: Aperture Priority vs Manual
Aperture Priority (Av on Canon / A on Sony and Nikon) works well when the light is consistent throughout the studio. You set the aperture, the camera handles the shutter speed. It’s fast and responsive.
Manual mode is better when light varies significantly across the room — for example, if one side has bright windows and the other is darker. Manual keeps your exposure consistent regardless of where in the room you’re shooting.
My honest recommendation: shoot Manual if you have time to set up properly. The consistency in post-processing alone makes it worth it.
Burst Mode: Your Safety Net
Turn burst mode on for any flowing sequences and shoot in clusters of 3–5 frames. Yoga movement is unpredictable — a beautiful aerial shot or a perfect expression during a breath transition is gone in a fraction of a second. Burst mode means you’ll have options.
You’ll delete 80% of what you shoot. That’s completely normal and exactly how it should work.
My Recommended Starting Settings
If you’re walking into a typical yoga studio and want a reliable starting point, try these:
|Setting |Value |
|-------------|--------------|
|Aperture |f/2.8 |
|Shutter Speed|1/250s |
|ISO |800 |
|White Balance|Manual (3500K)|
|Focus Mode |Continuous AF |
|Drive Mode |Burst |
Spend the first 10 minutes testing and adjusting for the specific studio light before the main session begins. Lock your settings in, and then you’re free to focus entirely on composition and connection with your subject.
Final Thought
The best yoga photography captures both the physical precision of the poses and the emotional quality of the practice — the concentration, the peace, the effort. Getting your settings right means you’re not thinking about the technical side mid-shoot. You’re present, responsive, and ready for the moments that matter.
If you’re a yoga teacher or studio owner in Berkshire, Surrey, or anywhere across the Thames Valley and you’re looking for professional photography for your brand, website, or social media — get in touch. I’d love to work with you.
Ed Curthoys is a professional photographer based in Sandhurst, Berkshire, specialising in corporate headshots, personal branding, and event photography across Reading, Camberley, Guildford, and beyond.