Blog 1 - starting out in photography
What I wish I knew when starting out.
A beginner’s guide for aspiring photographers.
I ride motorbikes, and I have always wanted a high-quality photo of me riding it for my office wall, but my arms aren’t long enough to take a selfie, and I don’t know any photographers who I could ask to spare half an hour and have me ride past them a few times. A year ago, I went to stay at a mate’s house – someone who also rides motorbikes – and there was a great photo on his wall of him and his pillion wife riding his Harley through Cheddar Gorge.
He told me he’d been out riding and had gone past a roadside photographer who was snapping bikes as they went past and displaying a website where they could buy digital images. He’d found it, bought and downloaded it, printed it and hung it in a nice frame. Brilliant. A simple business idea that targets a particular niche and works in a market of (generally) affluent people with a simple call to action.
I have been searching for the right business venture for as long as I can remember. I run global call centres and have done for 30 years. During that time I have always been hustling, from owning and running a pub in my spare time to business consulting, writing a novel (which is available here): UNSEEN - by EDWARD OAK-RHIND, selling items on Amazon and eBay with varying levels of success and even running a small courier business. All were more fun than working in the corporate world, but none ignited a passion in me. Seeing that photo on my mate’s wall was my lightbulb moment. This is what I wanted to do.
That was a year ago, and since then, I have established a small side-hustle photography business and it is starting to grow nicely. It has helped me develop a new skill, it’s allowed me to meet people I wouldn’t have otherwise met, and most importantly, it’s made me happy. It’s a cliché, but this feels like my calling, and I wanted to share my journey – mistakes and successes – so if you’re thinking of doing the same it could save you time, money and frustration.
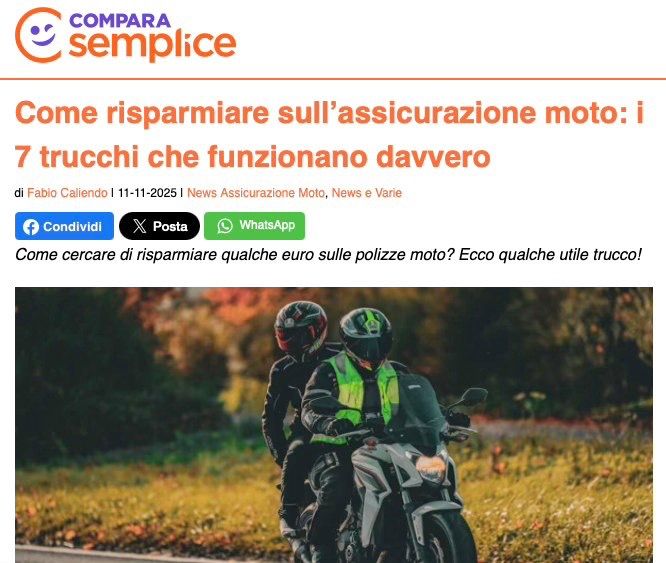
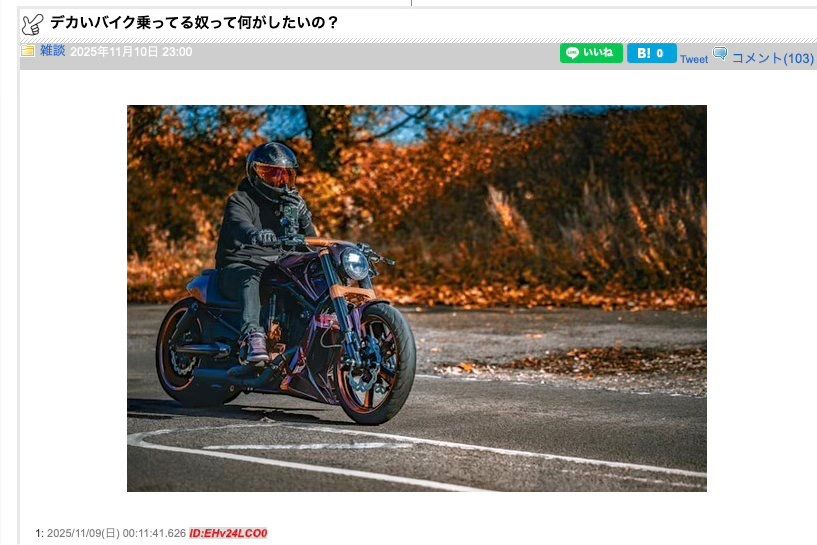
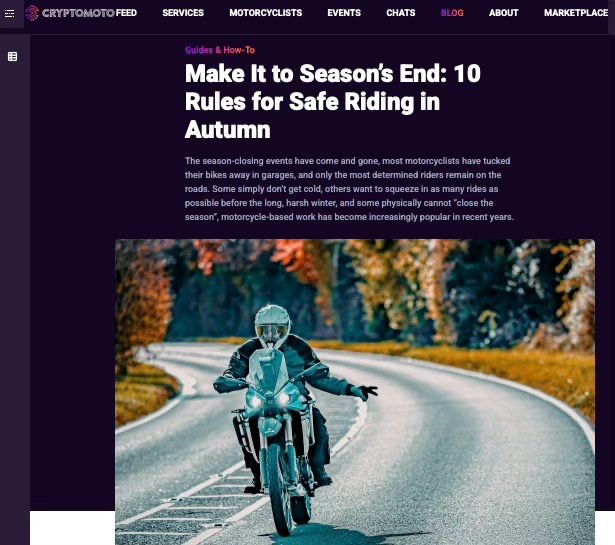
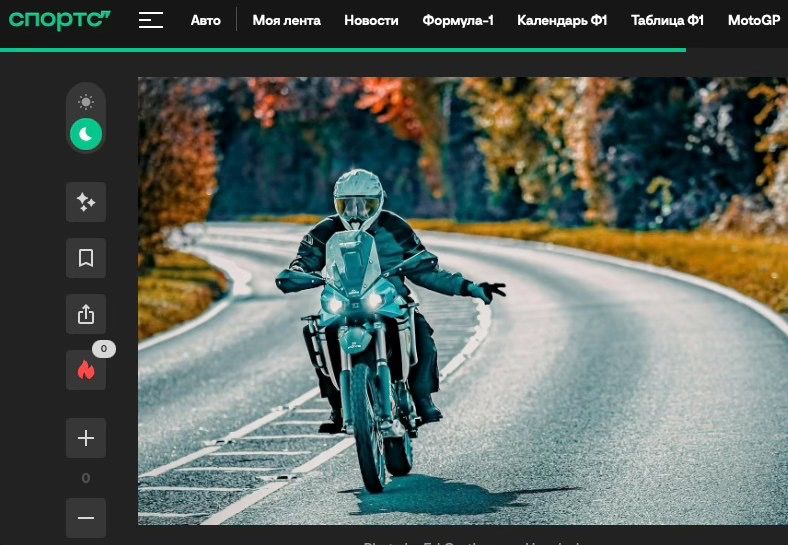
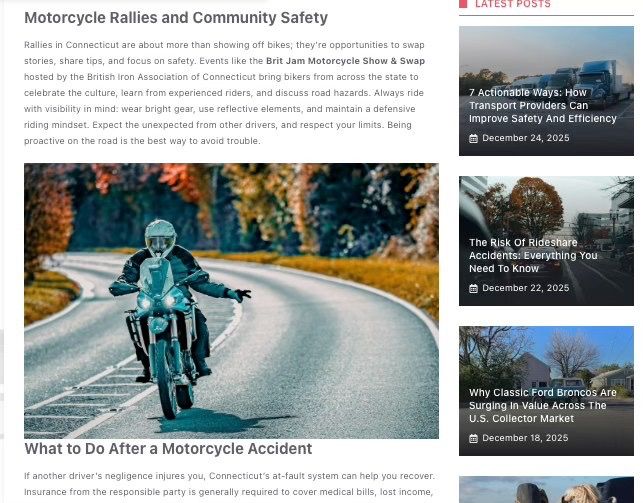
My website was originally going to only focus on taking photographs of bikes at the side of the road and sell them online. I built a website – which you can visit here: BikePhotos and some camera gear - having read about a million reviews and watched the same number of YouTube videos. I’ll talk through the process of taking bike photos (and how to get people to buy them) in a later blog, but the difference between the first day’s shooting and what I can deliver today is extraordinary. My photos have been syndicated around the world and it gives me a real thrill seeing them pop up with my name at the bottom. A couple of examples are below:
I then realised that bikes are usually only ridden in the summer (well, dur) and that if I wanted to make a living from this, I would need to expand my offering to other aspects of photography that kept me busy (and income generating) all year round.
Working in a large corporate office, we are encouraged to have professional portrait headshots for our LinkedIn and Social Media profiles. Our marketing team bought a company in to do this for us, allowing us to take selfies with a remote control and using their equipment before letting us choose the best image.
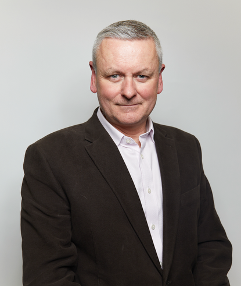
The image below was the best one. And I hate it. The background is dull, the posing is off, the colour looks unbalanced and worst of all, it's blurry. I went outside and took a selfie with my phone which was better, so used that instead. Then I found out what my company had paid for this service. I won’t say it here, but it was 4 figures for a day’s work. I then knew I had my answer as to how I could fill the winter months when there were no bikes on the road – I needed to learn how to master profile pictures and fast-moving bikes and make them attractive to both sets of customers. The key lesson for me when running a business is to identify a niche that removes friction. That’s what people pay for.
So I had the broad outline of a business idea. Take photos of bikes in summer and do corporate headshots in winter. Back to YouTube and Google. Find a camera and a set of lenses that could do both and then learn how to use them in a multitude of scenarios. I then set up a second website - Profile Pictures - as I wanted to target very different audiences and believe that people buy from specialists rather than generalists. I have different marketing and social media strategies for each.
Future blogs will cover marketing, pricing, website design and building a client base, before moving on to composition, timing and – most importantly of all – lighting, but I wanted to start with equipment. If you can’t master the basics of taking a half decent photo with the equipment available today, then this line of work probably isn’t for you.
I’m not going to bore you with technical specifications and complicated theories on how light enters lenses. What I will share is basic settings and how the three key components of taking a photo with a digital camera can be manipulated to best effect and give you the best chance of taking a great picture.
As a starter for ten, and to prove it can be done, I bought my camera and lens and took my dog for a walk and snapped the picture below:
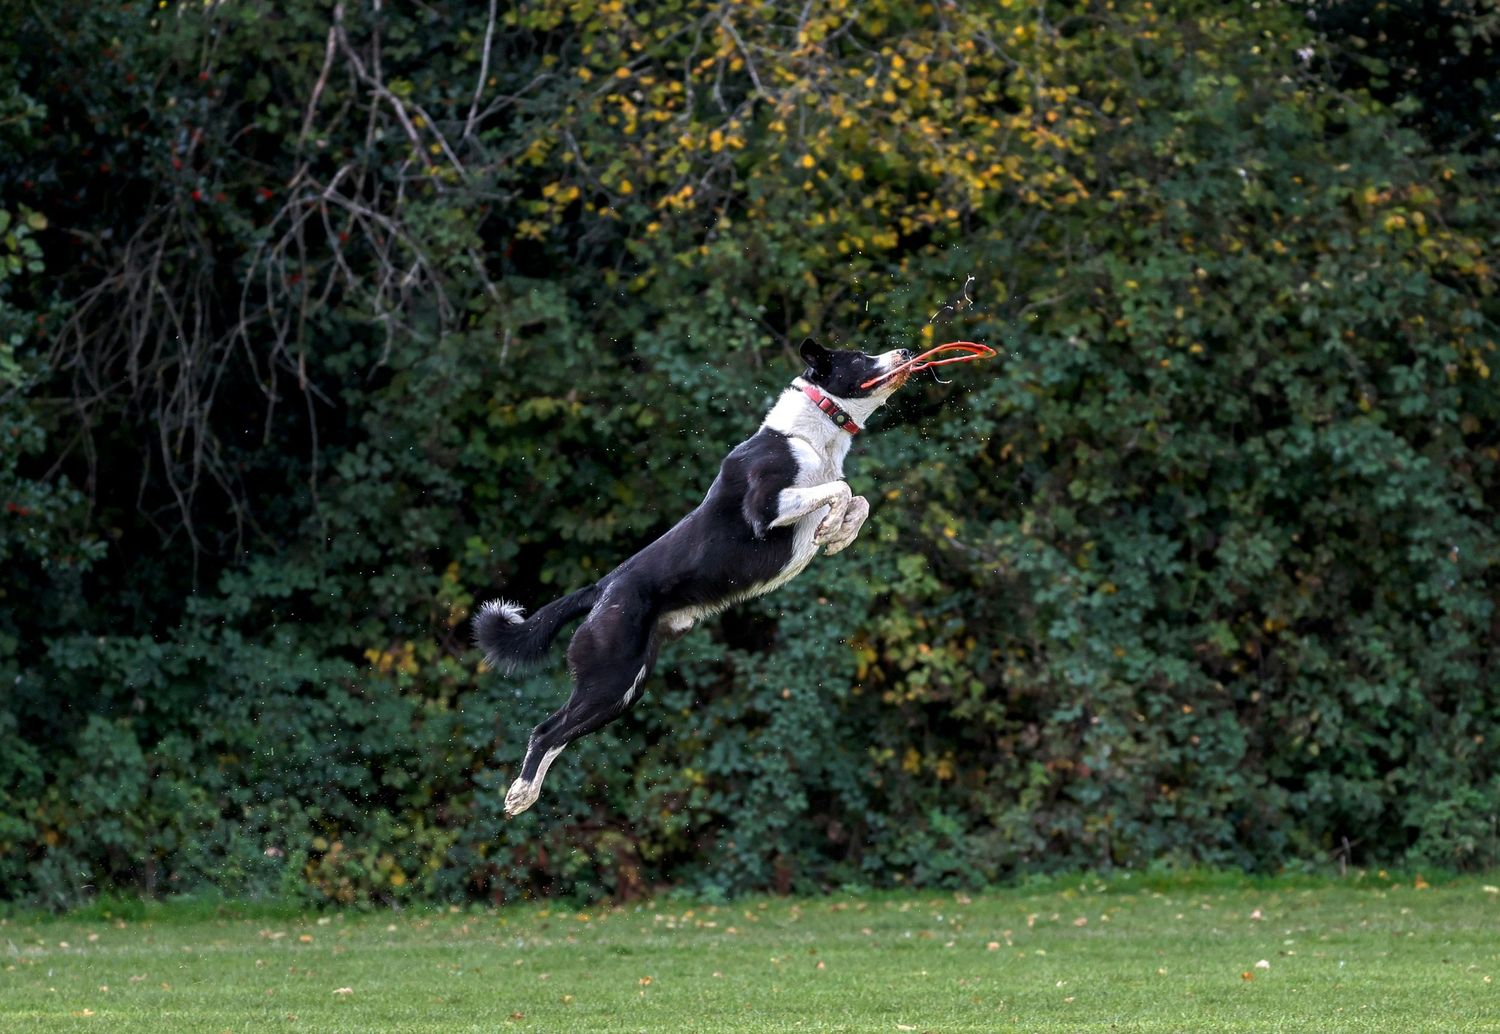
This was taken on day one, with no formal training, and no real knowledge or experience. Just an idea of what I wanted to achieve and the sheer will to make it happen.
The picture is of Django, my Border Collie, and a luckily, a very willing model. The photo was a shortlisted finalist in the Photographer of the Year 2026 awards and helped me reach Guru status on GuruShots (more of that later). I love this photo. It showed me what’s possible with a bit of fiddling, a touch of patience and a little bit of luck. I yelped with delight when I previewed this image through the viewfinder.
Buying a camera and lenses.
There is huge choice when it comes to cameras. I’m only qualified to talk about digital. Film is a whole new area of skill that I have neither the time nor the experience to even consider. As always, you have choices. Here’s a simple breakdown:
- Choose Mirrorless (APS-C/Full Frame): If you want advanced features, great video, fast autofocus, lighter gear, and don't mind adapting to electronic viewfinders (EVFs).
- Choose Full Frame (Mirrorless or DSLR): For professional image quality, superior low-light, cinematic depth of field, and ultimate sharpness, often for a higher cost and weight.
- Consider Crop Sensor (Mirrorless) - For budget-conscious beginners, travel, or when telephoto reach is more important than low-light
I use a Canon R6 Mk2. It’s perfect for what I need - a hybrid full frame mirrorless camera with a 24megapixel sensor . I have 5 main lenses:
- F2.8 / 16mm STM (wide angled landscapes)
- F1.8 / 50mm STM (known as a “nifty fifty” - see blog 3!)
- F2 / 28-70mm F2 L USM - close / zoom
- F2.8 / 70-200mm L IS USM - midrange / zoom (also, see blog 3)
- F4.5 / 100-500mm L IS USM - distance / zoom
Anything with a single distance number (16mm, for example) is a fixed lens – so you can’t make things appear bigger or smaller unless you walk towards or away from your subject. The lenses with 2 focal lengths are zoom lenses. The higher the number, the bigger the zoom. The length simply refers to the distance from the lens to the camera sensor. The shorter the distance, the wider the angle of view.
The F stop is how much light your lens can let in. The lower the number, the more light it allows. So a low F stop will always be better for low light situations, but a higher F stop is better for sunny days because sometimes you don’t want to have photos that are extremely bright. Again, trial and error.
My kit isn’t cheap – but I bought a bunch of cheap lenses to get started and found the results weren’t professional quality so ended up selling them all and starting again. The difference between a STM and a USM lens is (in my opinion) enough to warrant the extra cost if you want to do this for money.
STM (Stepping Motor) lenses offer smooth, quiet autofocus ideal for video, while USM (Ultrasonic Motor) lenses are generally faster and more responsive, making them better for capturing fast action in still photography, though they can be slightly noisier and are pricier, professional lenses with superior optics. The main difference is the motor technology (stepper vs. ultrasonic) affecting speed and sound, but optical quality, price, and features vary significantly between specific lens models, regardless of motor type.
My advice is to think about what you are trying to achieve, find a camera that will help you, and buy the best lenses you can afford. Price does equal quality in lenses.
You’ll also need a good tripod, and a flash if you’re planning on taking indoor photos in really low light. A sturdy backpack, spare batteries and a memory card or two and you’re good to go.
For proper lens and camera reviews, you can’t beat Ken Rockwell's website – impartial, clear and concise. I never buy a lens before I have checked his reviews first.
Mastering the Basics: Equipment and Techniques
Before you can confidently shoot for clients, you must be comfortable with your gear and make sure it’s the right kind of camera for the pictures you want to take. Again, google is your friend, and I will be posting reviews of my own gear on my YouTube channel in due course. That’s here: Ed's YouTube Channel
My photograph of Django was achieved in manual mode with a Canon R6 Mark2 and a F4.5 100-500mm lens. Now this equipment isn’t cheap (hat tip www.camerasdori.com for being the cheapest supplier around) – the set up cost around £2k – and it was shot at 1/500 at F9 on a cloudy day, with ISO set to auto. Again, more of that later. What this taught me was that rule one, from day one, is that you need to master manual mode. This means understand how sliding your F stop up and down while increasing or decreasing your shutter speed is key. There is no magic formula and every situation will vary – depending on how much light you are shooting in. Auto mode will put you in the right ballpark for settings so take a bunch of photos in Auto and check out the settings the camera thinks are right. Make a note, switch to manual and start to slide each one up and down and see what that does to your images.
Learning how manual settings change the look and feel of your image will really help you create your own style and avoid under/over exposed (too light / too dark) photos and keeping your shutter speed just fast enough to capture a sharp image while avoiding that horrible graining you see on photos sometimes (this is called “noise” by those in the know). If you have a high F stop your ISO needs to jump to let in more light, and quality really suffers. A fast shutter speed means that less light hits the lens and the image will be darker - so you have to balance light, shutter speed and ISO. That's the exposure triangle.. You’ll be able to fix a bunch of stuff in post-production editing (by using software such as Lightroom, for example) but even that can’t fix a really bad photo, and it’s far quicker – and more satisfying – to nail it in camera whenever you can.
Developing Your Own Style
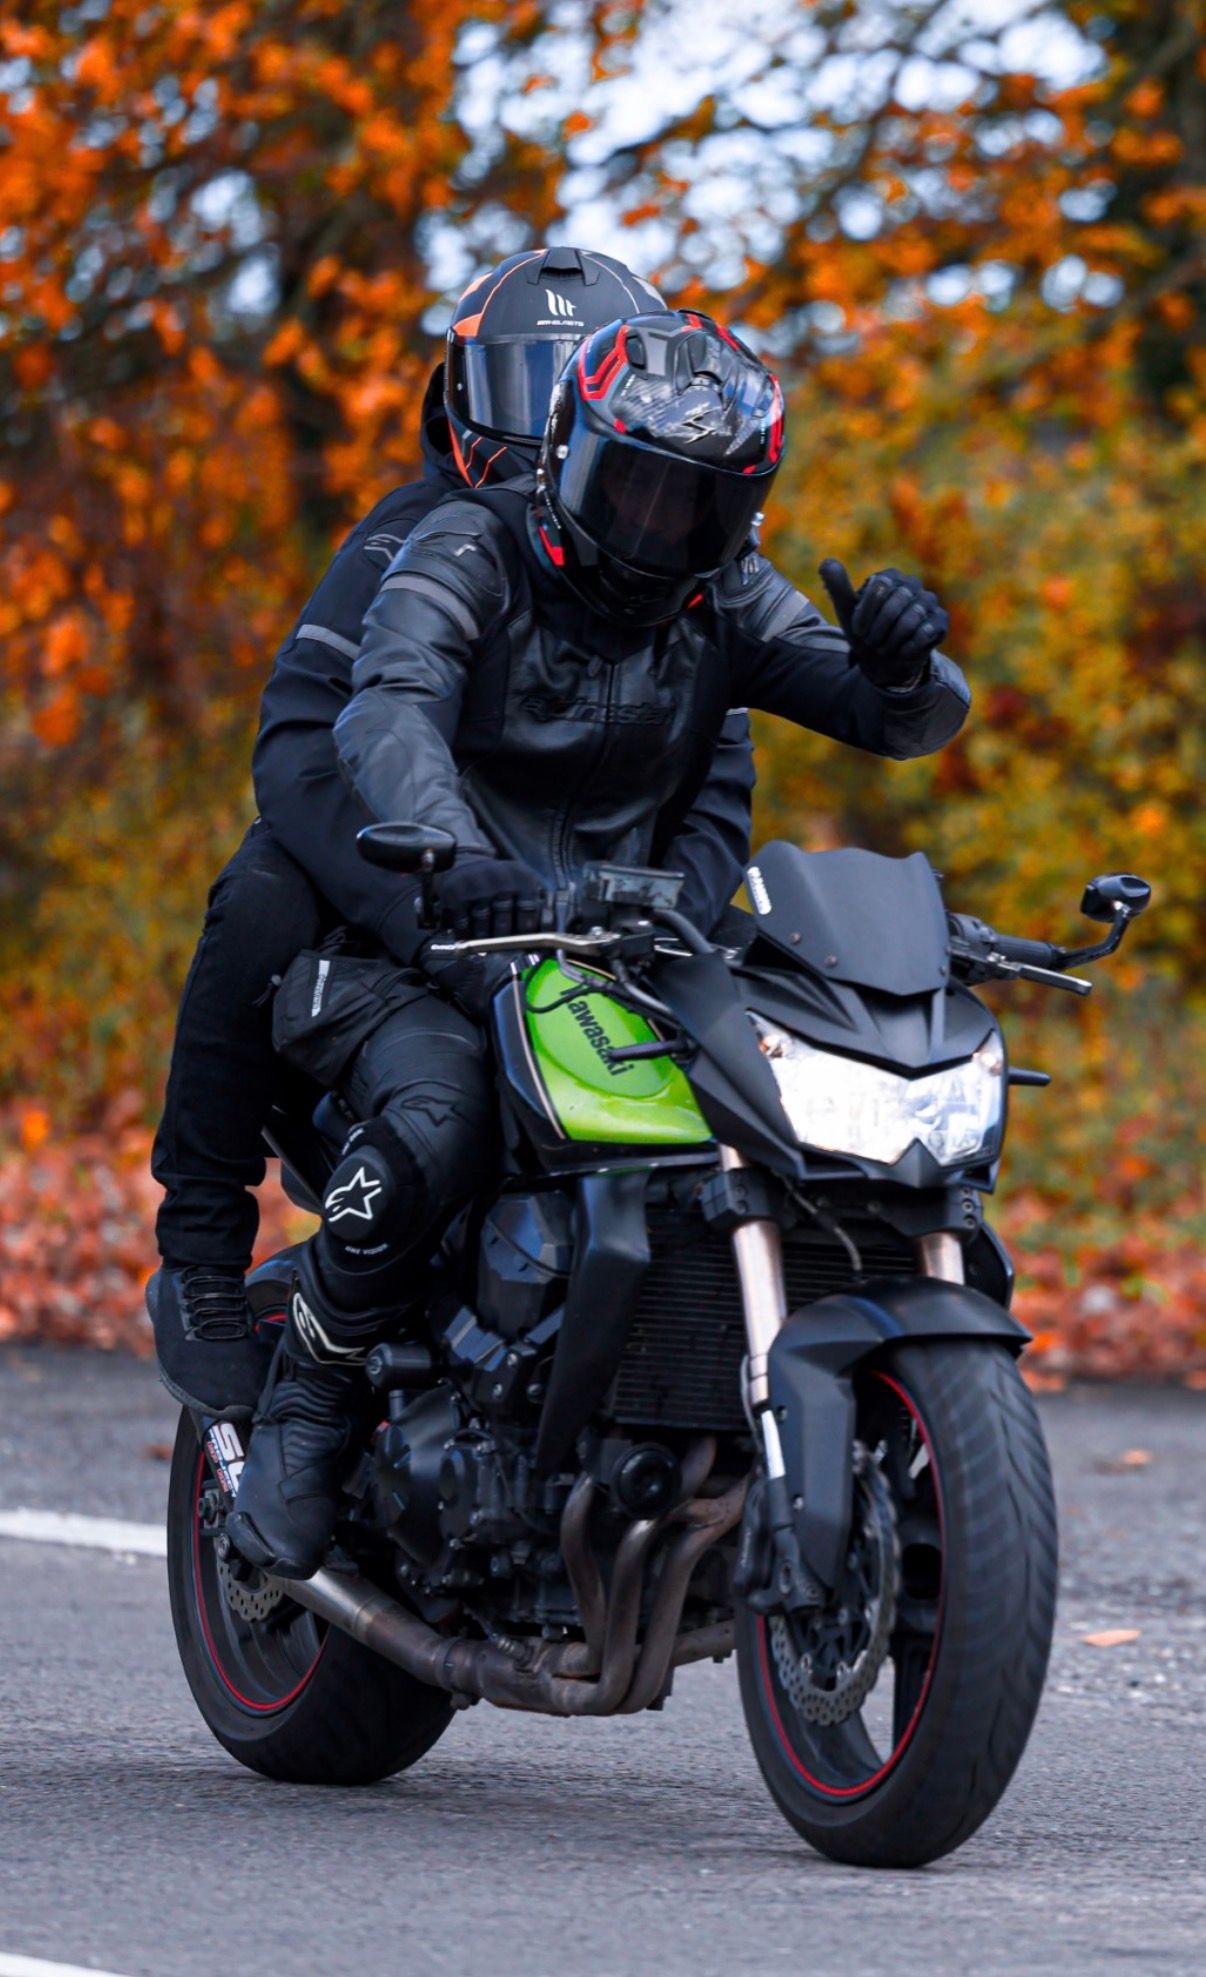
My website’s bike section is full of people riding motorbikes, usually from the front, three quarters showing and carefully edited to pop the colour and remove background distractions. I wanted to do panning shots (blurry background and a bike, frozen in time) but found these were bloody hard to do and you only get one chance at the shot. I was more successful, and had more fun, adapting to the new method. It also meant I could engage with my subjects with a wave or a thumbs up, and I think the photos look better too. Here are some examples:
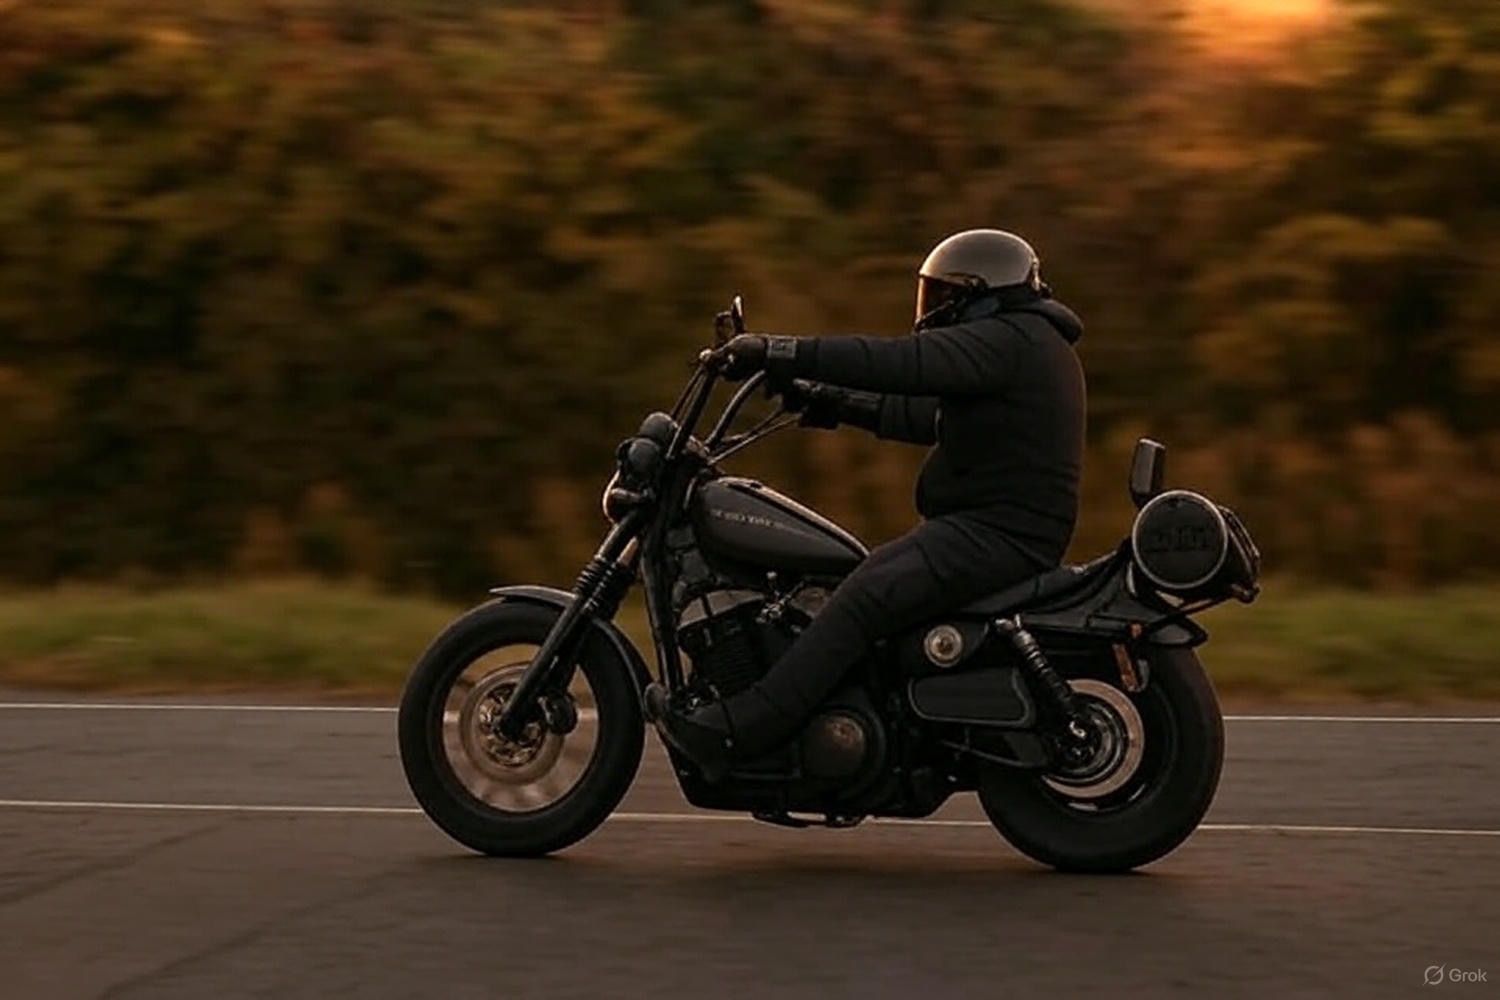
The first photo was taken on the A30 at dusk. He was the only biker that went past me in an hour, and I am really happy with how this came out. Fast shutter, low F-Stop and pefect timing. But I got lucky.
The next photo was taken near Loomies bike café near Alton in Hampshire. It was my first proper go with “smile, photographer ahead” signs, hi-viz jackets and a little advertising on FaceBook. I got 10 photos on multi-shot mode of the couple above, some were a little blurry and some were perfect so I was able to pick one, edit it a little to bring the green out and make the trees more Autumnal – and the thumbs up from the rider give it a fun, authentic feel.
I took over 1,000 photos that day. Around 250 made the website post-editing, and I sold about 20. I was there for 5 hours, and it felt like 10 minutes. A brilliant day, All the photos can be seen here: Loomies Bike Day
Build a Strong Portfolio
A great portfolio is your professional face to the world and lets people know you know how to take a photo. On my website you’ll find a series of portfolio links to a main gallery, and a separate “bike gallery” so people can view and buy their photos based on the day and location. I launched the website with about 10 photographs on it. My advice – just get started. There are lots of website builders out there. You will go mad if you wait for your collection to be perfect, and having somewhere to showcase your photographs gives you motivation to take more, and to take better pictures.
I used Pixieset for mine and it was easy to set up. I bought a domain from www.Ionos.com – both www.profilepictures.co.uk and www.bikephotos.co.uk were available and less than a tenner each, and Pixieset costs me around £30 a month for hosting and the ability to have a store where purchases can be made. It also lets customers buy physical prints without me having to lift a finger – I just get a cut of the sales. Easy.
But you need photos. I am now in the habit of taking my camera and one of my stock lens wherever I go (usually the 70-200mm), and taking pictures of anything I find interesting, not just cars, bikes and people. This helps develop skills, learn about lighting, composition and being quick on the trigger when something fast zips past you. You’ll get a lot more wrong than right at first, but practice really does make perfect. Pros will tell you about the importance of the “rule of thirds” but frankly, a great photo is a great photo and some will like it and some will hate it. Beauty is in the eye of the beholder.
On a typical one hour walk I’ll take 20/30 photos and have 1 or 2 worth keeping. There isn’t a squirrel or an egret round my town I haven’t taken a dozen pictures of (to prove it, here’s a couple!).
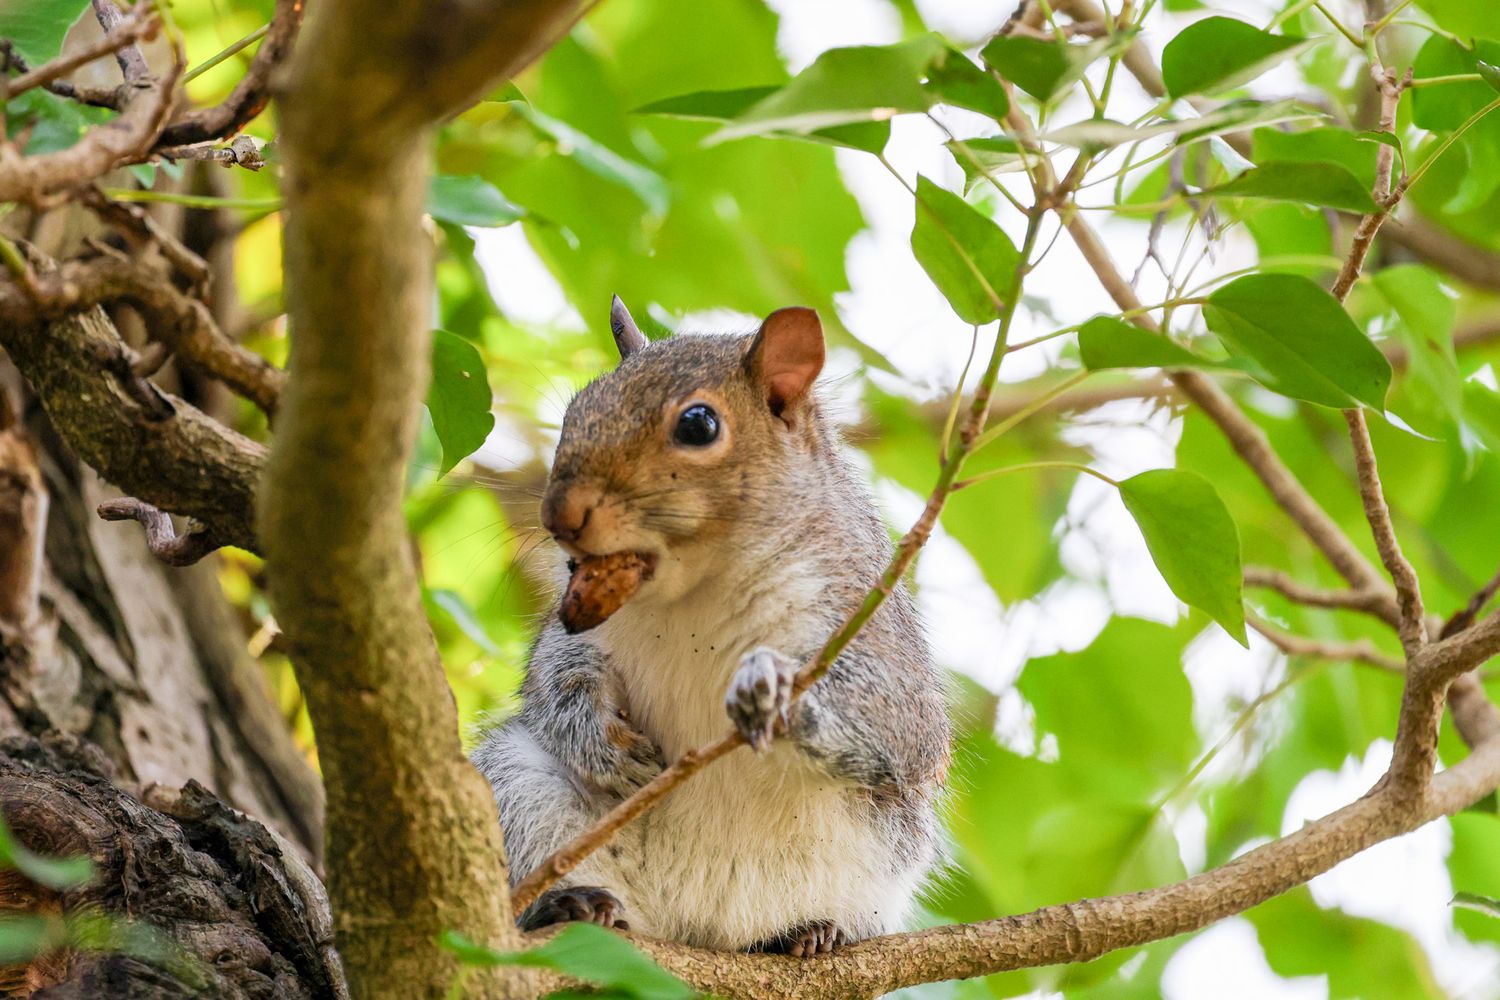
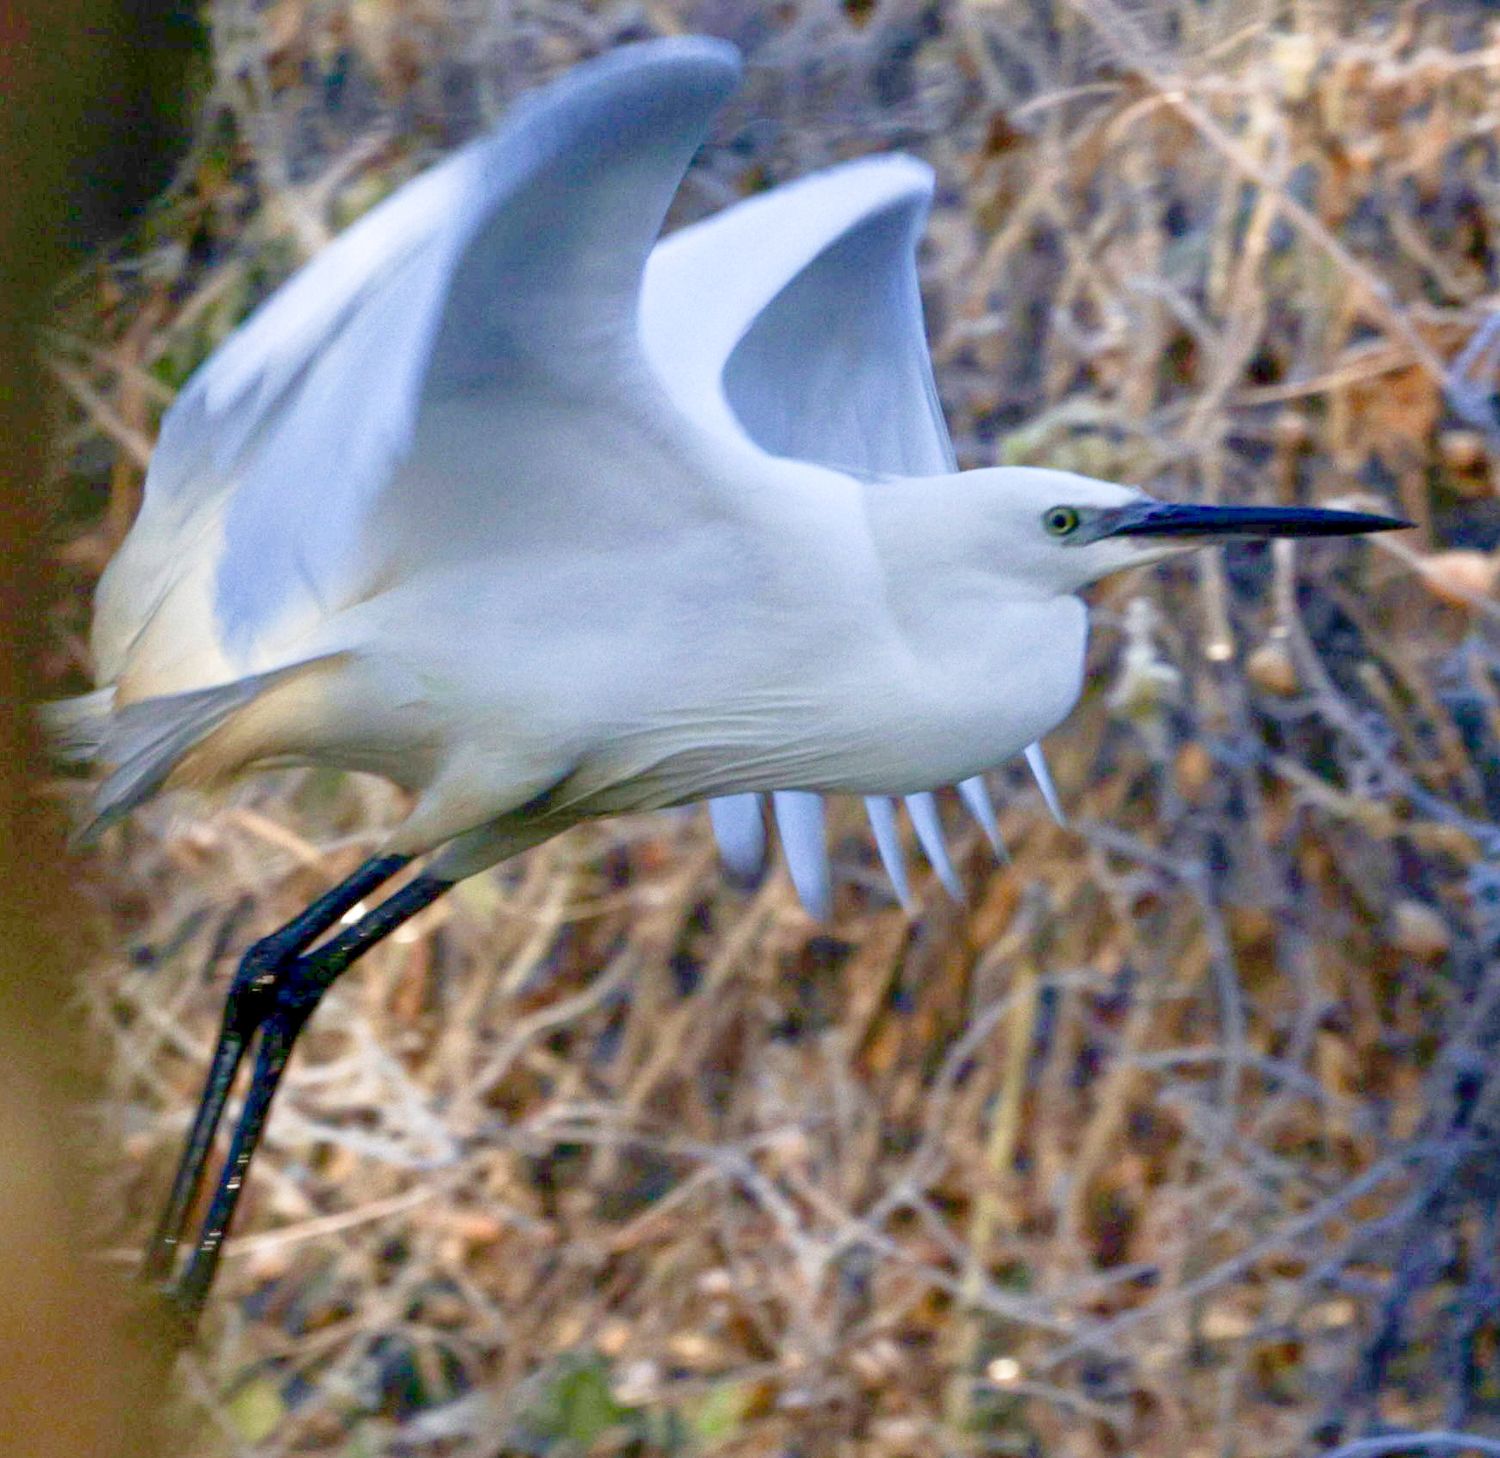
What I won’t share are the blurry, out of focus, hidden behind branches ones. But there are plenty of those. It’s obvious, but curate only your strongest work, and ensure each image reflects the level of quality a prospective customer wants to see.
So go and take photos. Build a portfolio. Try and keep it to your niche but don’t be afraid to experiment. Load them to your site, add them to a business Facebook and Instagram page, invite your friends to like both and then post regularly with your best shots. I went from zero to 100 followers in 2 months and now have over 100,000 views a month on my pages.
I've been shortlisted for the LCE photograph of the year - see my entry and vote here: https://poty.lcegroup.co.uk/contest/poty26/submission/123077/
Finally, I updated my profile picture with my own camera, background, lighting and a remote control. It's below. And I didn't charge myself £000s to take it. I hate photos of myself - but this one is pretty good.
I hope this blog is helpful. Use the “contact” button to send me a message and let me know what you think.
Happy snapping,
Ed